There's something truly special about making things with your hands, especially when it results in a charming, one-of-a-kind friend. A sock monkey, with its cheerful disposition and quirky appeal, has been a beloved toy for generations, and, you know, creating one yourself is a wonderfully rewarding activity. It's a project that brings out your inner crafter, offering a chance to turn simple materials into something full of personality and warmth. This process, it's almost a bit like magic, transforming an everyday item into a cherished companion.
Maybe you remember seeing these playful figures at your grandma's house, or perhaps you're just looking for a fun, creative outlet that doesn't ask for a ton of fancy tools or hard-to-find supplies. That, is that, the beauty of a sock monkey project; it's accessible and surprisingly simple once you get the hang of a few basic steps. We'll walk through everything you need to know, from picking out the perfect pair of socks to adding those endearing facial features that give your new pal its unique character. It's really about taking a little time and putting a bit of heart into your creation.
So, get ready to discover the simple joy of crafting. We're going to go over the steps to bring one of these iconic toys to life, making sure you have all the pointers to create a truly delightful sock monkey. It's a chance to make something tangible, something that can bring smiles, and it's all built from a humble pair of socks. Honestly, it's a pretty satisfying way to spend an afternoon.
- Teresa Sprinkle Cookies
- Is Roman And Seraph Siblings
- Alexis Williams Wade Wilson
- Jonathan Hemington Ice Wall
- Coach Birkin Dupe
Table of Contents
- Getting Ready - What You'll Need for Sock Monkey Instructions
- Picking the Perfect Pair - The First Step in Sock Monkey Instructions
- Bringing Your Monkey to Life - Cutting and Shaping
- How Do You Cut a Sock for a Sock Monkey? - Precise Sock Monkey Instructions
- Stitch by Stitch - Assembling Your New Friend
- What Stitches Work Best for Sock Monkey Instructions?
- Giving Your Monkey a Heart - Stuffing and Shaping
- How Do You Stuff a Sock Monkey Properly? - Key Sock Monkey Instructions
- Adding Personality - Facial Features and Finishing Touches
- Where Do You Put the Eyes and Mouth on a Sock Monkey? - Finishing Sock Monkey Instructions
- Your Finished Friend - Enjoying Your Creation
Getting Ready - What You'll Need for Sock Monkey Instructions
Before you even think about picking up a needle, it's a good idea to gather all your bits and pieces. Having everything right there, ready to go, makes the whole process smoother and much more enjoyable. You don't want to be halfway through, looking for that one missing item, do you? To be honest, a well-prepared workspace is half the battle won when you're making something like this. You'll need a few common household items and some basic crafting supplies, nothing too fancy, that's for sure. A good pair of socks, the kind with a distinct red heel, is the absolute starting point for your sock monkey instructions. These classic socks give the monkey its signature look, especially for the mouth area. Beyond that, you'll want some soft, fluffy material for filling your monkey, like polyester fiberfill or even some old fabric scraps cut into small pieces. Then, there's the thread, which should be pretty strong and match your sock color as much as possible, or be a contrasting color if you want a particular design element. A sharp pair of scissors is also a must, as you'll be doing a fair bit of cutting. And of course, you can't sew without a needle, so grab one that's easy to handle and has an eye big enough for your thread. For the eyes of your new friend, buttons are a popular choice, but you could also use felt circles or even just embroider them on. Finally, a fabric marker or chalk is helpful for drawing your cutting lines, and some pins will help hold things in place while you're stitching. Basically, these are the fundamental bits and pieces that will get your project off to a fine start.
Picking the Perfect Pair - The First Step in Sock Monkey Instructions
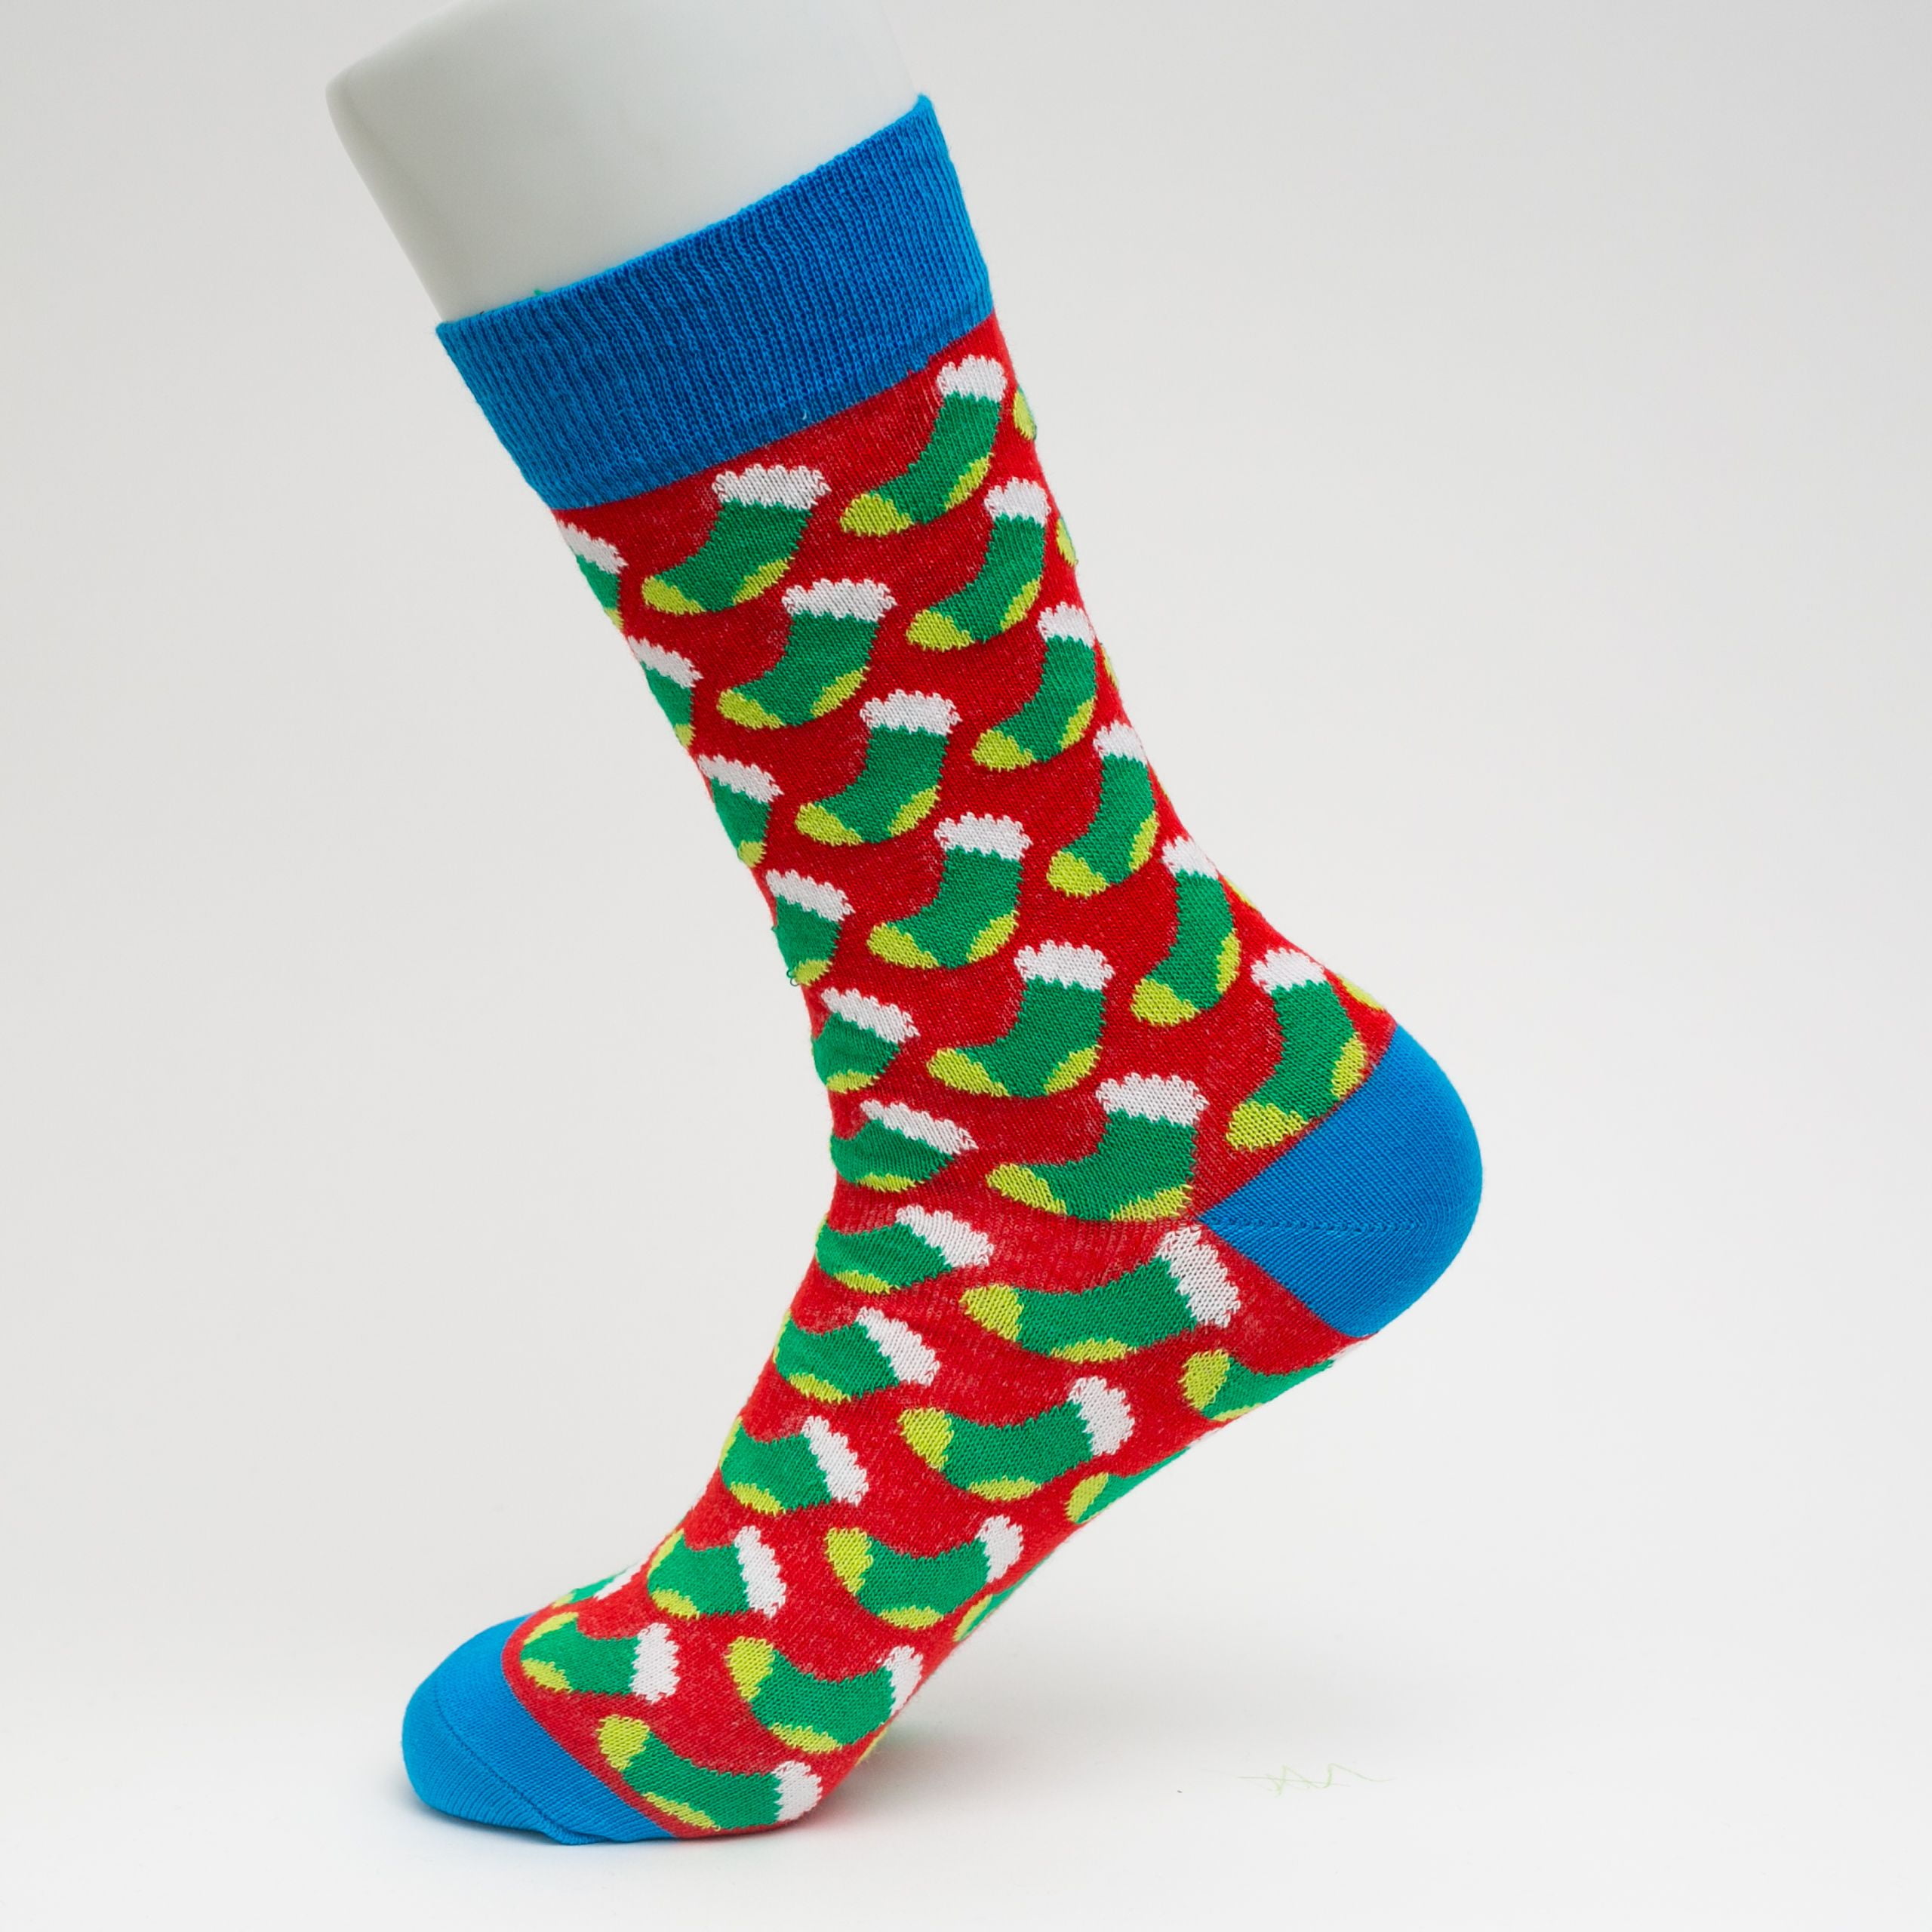
Choosing the right socks is, in a way, one of the most important first steps for your sock monkey instructions. The classic sock monkey typically uses a specific type of sock, often called a "Red Heel" sock, which has a distinct red portion at the heel. This red part, it really does, become the monkey's smiling mouth, giving it that instantly recognizable, charming look. However, you're not strictly limited to these traditional socks. You can absolutely get creative with your choice! Consider using socks with different patterns, like stripes or polka dots, or even socks in various solid colors. Imagine a blue sock monkey, or one with rainbow stripes – the possibilities are pretty much endless. Just make sure the socks are clean and in good condition, without any holes or thin spots, unless you're intentionally going for a distressed look. The size of the sock will also determine the size of your finished monkey, so if you want a bigger friend, grab some larger socks, perhaps even adult-sized ones. For a smaller, more pocket-sized pal, children's socks work just fine. The material of the sock matters too; a cotton blend is usually easy to work with and holds its shape well when stuffed. So, take your time picking out your pair, as they'll really set the tone for your monkey's overall appearance and feel. It's almost like choosing a personality for your future companion, you know?
Bringing Your Monkey to Life - Cutting and Shaping
Once you have all your materials laid out, the next big step in creating your sock monkey involves some careful cutting and shaping of the sock fabric. This is where your flat sock begins to take on the form of a creature, so, it's a pretty exciting part of the process. You're essentially mapping out the different body parts of your monkey before you even start joining them together. This stage requires a bit of precision, but don't worry too much; it's not like you need to be an expert tailor or anything. The beauty of a handmade item, really, is its unique imperfections, so a slightly wobbly cut just adds to the character. You'll be dividing the sock into sections that will become the monkey's legs, arms, and tail, and also preparing the part that will form its head and body. It's a bit like sketching out a design before you start painting, making sure all the proportions feel right. Using a fabric marker or a piece of chalk to draw your lines before you cut can be incredibly helpful here, giving you a clear guide to follow. This way, you can adjust your planned shapes before committing with the scissors. Remember, once you cut, there's no going back, so a little planning ahead is always a good idea. You'll find that with each cut, the sock starts to look less like something you'd wear on your foot and more like the beginnings of a playful toy. It's actually quite satisfying to see the transformation begin.
- Edge Beauty Foundation
- Club De Hombres Para Mujeres
- Kevin Gates Forehead
- Dave Chappelle Faggot
- Luigi Mangione Y Diego Sanz
How Do You Cut a Sock for a Sock Monkey? - Precise Sock Monkey Instructions
Knowing how to properly separate the fabric pieces is a key part of the sock monkey instructions, as it directly impacts the final shape of your little friend. First, lay your chosen sock flat and smooth it out, making sure there are no wrinkles. You'll typically start by creating the legs. To do this, find the heel of the sock and cut up the middle of the foot portion, from the toe towards the heel, stopping just before the heel itself. This creates two distinct leg pieces. The length of this cut will determine how long your monkey's legs are, so you can adjust it slightly based on your preference, you know? Next, you'll work on the arms. For these, you'll usually use the upper part of the sock, above the heel. You'll cut two strips from the top cuff down towards the heel, leaving them attached at the very top. These strips should be roughly equal in width, and again, the length will dictate the arm size. Some people like longer, dangling arms, while others prefer them a bit shorter. The remaining central part of the sock, which includes the heel, will form the body and head. The red heel, that, is that, the part you'll eventually shape into the monkey's mouth. Finally, for the tail, you'll often use a separate, smaller strip of fabric cut from any leftover sock material, or sometimes even a piece from the very top cuff that you trimmed off. This strip can be rolled or sewn into a tube shape later. It's really about being mindful of how each cut contributes to the overall form of your future monkey, so take your time and measure if you feel the need.
Stitch by Stitch - Assembling Your New Friend
Once all your pieces are neatly cut, the real fun of bringing your monkey to life begins: the joining together with thread. This stage of the sock monkey instructions is where those flat fabric pieces start to become three-dimensional, forming the distinct limbs and body of your creature. It's a process that asks for a little patience and some basic hand-stitching skills, but nothing too complicated, honestly. You'll be closing up the raw edges you created during the cutting phase, turning them into neat seams that will hold your monkey together. Think of it like putting together a puzzle, where each piece needs to fit just right to create the complete picture. You'll start with the legs and arms, sewing up the cut edges to form tubes. Then, you'll connect these limbs to the main body section. It's often helpful to use pins to hold the edges together before you start stitching, just to make sure everything stays aligned and doesn't shift around. This makes for a much neater finish and, in a way, saves you from potential frustration later on. As you work, you'll begin to see the monkey's shape emerge, which is a pretty encouraging sight. It's a gradual transformation, one stitch at a time, but each little bit of progress adds to the growing form of your new friend. And don't worry if your stitches aren't perfectly even; that just adds to the charm of a handmade item, you know? It shows it was made with care and a human touch.
What Stitches Work Best for Sock Monkey Instructions?
When it comes to joining the fabric pieces for your sock monkey instructions, a couple of basic hand stitches tend to work really well. You don't need a whole arsenal of fancy embroidery techniques; simple, sturdy stitches are usually all that's required. One of the most common and useful stitches for this project is the running stitch. This stitch is fairly straightforward: you simply pass the needle in and out of the fabric in a straight line, creating a series of small, even stitches. It's great for closing up seams, and it's quite quick to do. For a stronger, more secure seam, especially for areas that might experience a bit more wear and tear, a whip stitch is a good choice. With a whip stitch, you bring the needle up through the fabric from the back, then loop it over the edge and back down through the fabric, creating a series of diagonal stitches that wrap around the seam. This stitch is particularly good for joining two edges together and for finishing off raw edges, giving a neat appearance. Another option, particularly for attaching smaller pieces like the tail or for securing the mouth, is a simple backstitch. This stitch creates a very strong, continuous line, as each stitch goes back and overlaps the previous one slightly. So, you're building up a really solid line of thread. The key is to use a strong thread and to make your stitches relatively small and close together. This helps ensure that the stuffing stays inside and that your monkey holds its shape well over time. You want your new friend to be sturdy, after all, and these stitches definitely help with that.
Giving Your Monkey a Heart - Stuffing and Shaping
After you've carefully joined all the fabric pieces, the next step in your sock monkey instructions is to give your creation some life by filling it with soft material. This is where your monkey really starts to take on its full, cuddly form. It's a bit like inflating a balloon, but with soft, fluffy stuff instead of air. The way you fill your monkey can actually make a big difference in its final appearance and how it feels to hold. You want it to be firm enough to hold its shape, but still soft and huggable, you know? This part can be surprisingly therapeutic, gently pushing and molding the stuffing into every little corner and limb. It’s almost like you’re giving your monkey its own unique physique. Don't be afraid to use plenty of filling; a well-stuffed monkey looks much better and holds up longer than one that's a bit floppy. You'll want to make sure the stuffing is distributed evenly throughout the head, body, arms, and legs, avoiding any lumpy spots or areas that feel empty. A chopstick or the blunt end of a pencil can be really helpful for pushing the stuffing into those tighter spots, like the tips of the arms and legs. Take your time with this step, as it truly brings your monkey from a flat piece of fabric to a plump, three-dimensional companion. It's a pretty satisfying transformation to witness, actually, as your monkey gains its shape and substance.
How Do You Stuff a Sock Monkey Properly? - Key Sock Monkey Instructions
Stuffing your sock monkey correctly is a key part of the sock monkey instructions to ensure your finished toy looks good and feels right. The goal is to fill every part of the monkey evenly, so there are no strange bulges or empty spots. Start by pushing small amounts of your chosen filling material into the furthest points first, like the very ends of the arms and legs. Using a tool like a chopstick or a long, blunt stick can help you get the stuffing all the way down into these narrow areas. Then, gradually work your way back towards the body, adding more filling as you go. For the head and body, you'll want to make sure it's quite firm, as this provides the main structure for your monkey. You can gently squeeze and knead the monkey as you add stuffing to help distribute it evenly and get rid of any air pockets. It’s a bit like sculpting, in a way, as you mold the form of your new friend. Keep adding stuffing until the monkey feels plump and holds its shape well when you pick it up. If it feels too squishy in some areas, add a little more filling there. If it feels too hard, you might need to take a tiny bit out and redistribute it. Remember to leave a small opening at the top of the head or body for now, as you'll need to close that up after the stuffing is complete. This careful filling process really does make a difference in the overall look and feel of your finished sock monkey, giving it a pleasing weight and a proper form. It's really about giving it a good, solid foundation.
Adding Personality - Facial Features and Finishing Touches
With your monkey all plumped up and holding its shape, the final, and arguably most fun, part of the sock monkey instructions is giving it a face and adding those little details that make it truly unique. This is where your monkey's personality really shines through, transforming it from a stuffed shape into a character with its own charm. The eyes and mouth are, of course, the most important features, as they convey expression and bring your creation to life. You have a few choices here, and each option gives a slightly different feel. For eyes, you might choose to use buttons, which give a classic, somewhat whimsical look. If you use buttons, make sure they're securely attached, especially if the monkey is for a small child, as loose buttons can be a hazard. Alternatively, you could cut small circles of felt and stitch them on, or even embroider the eyes directly onto the fabric with thread. The mouth, traditionally made from the red heel of the sock, is usually stitched down to create a cheerful, open smile. You can shape it slightly to give your monkey a happy or even a slightly mischievous expression. Beyond the main facial features, this is also the time to add any extra embellishments. Perhaps a small bow tied around the neck, a tiny felt hat, or even some embroidered freckles. These small touches, they really do, personalize your monkey and make it truly one of a kind. It's a chance to let your creativity run wild and make your monkey truly yours.
Where Do You Put the Eyes and Mouth on a Sock Monkey? - Finishing Sock Monkey Instructions
Placing the eyes and mouth correctly is a really important step in the sock monkey instructions, as it defines your monkey's expression and overall look. For the eyes, you'll want to position them on the upper part of the monkey's head, typically a little above where the mouth will be. Use a fabric marker or pins to experiment with different placements before you commit to sewing them on. Try spacing them closer together for a more concentrated look, or a bit wider apart for a softer expression. Once you're happy with the position, securely attach your chosen eye material, whether that's buttons, felt circles, or embroidered stitches. For the mouth, the traditional sock monkey uses the red heel of the sock. You'll typically flatten this red heel section against the front of the monkey's face, just below where the eyes will go. Then, you'll stitch around the edges of the red heel, perhaps folding it slightly to create an open, smiling shape. Some people like to add a line of black thread down the middle of the red heel to create a "lip" effect, giving the mouth a bit more definition. You can also embroider a small nose above the mouth if you like, using a few simple stitches. Remember, there's no single "right" way to do this; it's all about personal preference and what kind of character you want your monkey to have. Take your time, step back and look at your monkey from different angles, and make sure you're happy with its developing face. It's truly the part that gives your creation its unique personality, you know?
Your Finished Friend - Enjoying Your Creation
Once you've completed all the sewing, stuffing, and added those final, charming features, you'll have a brand new, handcrafted sock monkey ready to bring joy. This is the moment where all your efforts come together, and you can truly appreciate the work of your own hands. There's a special kind of satisfaction that comes from making something tangible, something that started as a simple sock and transformed into a lovable companion. Your sock monkey is now ready for adventures, cuddles, or simply to sit on a shelf and add a touch of whimsy to any room. It's more than just a toy; it's a testament to creativity and the simple pleasure of making. You could, perhaps, give it a name that fits its unique personality, or even create a little backstory for it. These monkeys make wonderful gifts, too, as they carry a piece of the maker's care and effort. So, whether your new friend is for yourself, a child, or a loved one, take a moment to admire your handiwork. It's a pretty remarkable thing, really, what you can create with just a few basic materials and a bit of time. Enjoy your new, very, very, special companion!
This article has covered the complete process of creating a classic sock monkey, from gathering your initial materials like the distinct red heel socks and stuffing, to the precise cutting of the fabric for the limbs and body. We discussed the important steps of hand-stitching the pieces together using effective techniques such as the running stitch and whip stitch, ensuring a sturdy and well-formed toy. The article also guided you through the proper methods for stuffing your monkey to achieve a pleasing shape and feel, emphasizing even distribution. Finally, we explored how to add personality through the careful placement of facial features like eyes and the traditional red heel mouth, along with any other finishing touches that make your sock monkey truly one-of-a-kind. Your new, handcrafted friend is now ready to be cherished.

Detail Author:
- Name : Ellen Deckow
- Username : mcronin
- Email : corrine.bogan@crona.com
- Birthdate : 1984-10-16
- Address : 49496 Toney Points Suite 572 New Rodolfoburgh, WV 11623
- Phone : +1.509.441.2916
- Company : Rau-Beatty
- Job : Drywall Installer
- Bio : Eveniet eaque et praesentium eligendi debitis rem. Voluptas sit qui nulla nostrum itaque possimus quod accusamus. Tempore corporis saepe repudiandae quia.
Socials
tiktok:
- url : https://tiktok.com/@jaiden.trantow
- username : jaiden.trantow
- bio : Provident quisquam fugiat id.
- followers : 5776
- following : 1608
instagram:
- url : https://instagram.com/jtrantow
- username : jtrantow
- bio : Et et necessitatibus quaerat quibusdam. Deleniti vero molestias aut.
- followers : 2180
- following : 1314
facebook:
- url : https://facebook.com/trantowj
- username : trantowj
- bio : Neque id sint quasi qui sit qui et.
- followers : 3466
- following : 1958
