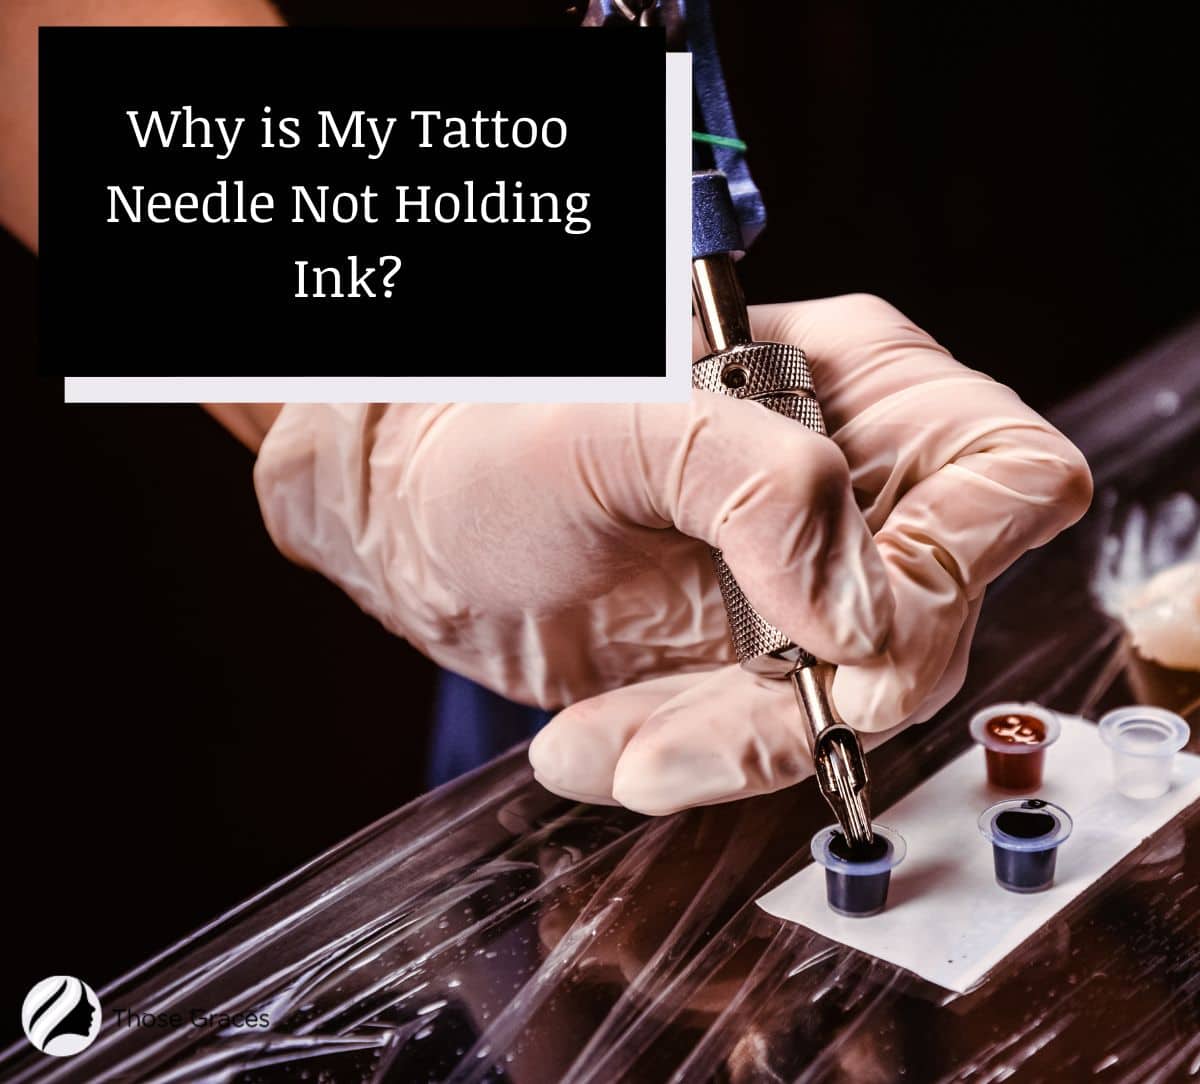
Stepping into the world of tattooing, whether you're just starting out or looking to refine your technique, brings with it a host of practical considerations. One of the very first things you'll want to get a handle on, and it's almost a foundational skill, is how to properly get ink onto your tattoo needle. This might seem like a small detail, but getting it right really sets the stage for a smooth and successful tattooing session. It's about more than just splashing some color around; it's about making sure your tools are ready to do their best work.
You see, the way you load your needle has a pretty big impact on how the ink flows and, ultimately, how your tattoo looks. A little bit of care here can make a world of difference in the final artwork, helping you achieve those clean lines and solid fills everyone looks for. So, if you've ever wondered about the best way to prepare your setup or how to actually get that vibrant pigment from the bottle to the skin, you're certainly not alone. There's a method to it, and it's quite simple once you get the hang of it, really.
This guide will walk you through the process, offering some helpful pointers drawn from practical experience. We'll go over everything from getting your workspace ready to the actual motion of dipping your needle, making sure you have a clear picture of what to do. You'll find that with a little practice, this part of the tattooing process will become second nature, allowing you to focus more on the creative side of things. It's a foundational step, and honestly, getting it right just makes everything else a lot easier, too.
- Kevin Gates Forehead
- Madeline Brincos Dieras
- People Who Talk To Themselves Club
- Patri Castilla 93
- Sleep Paralysis Demon Costume
Table of Contents
- Getting Ready - Preparing Your Space for Tattoo Ink
- How Do You Prepare Your Ink Caps?
- How to Fill a Tattoo Needle With Ink - The Actual Dipping
- Why Might Ink Not Pack Correctly When You Fill a Tattoo Needle With Ink?
Getting Ready - Preparing Your Space for Tattoo Ink
Before you even think about touching a needle to an ink bottle, setting up your work area is a pretty important first step. Think of it like getting your kitchen ready before you start cooking; you want everything in its place, clean and ready for action. This preparation isn't just about being neat, it's about keeping things safe and making sure your workflow is smooth. You're trying to create an environment where you can focus on the art without worrying about accidental spills or contamination, which is, you know, pretty big in this line of work. So, a little bit of planning here goes a long way, actually.
One of the first things to do is lay down a protective surface. This means putting a plastic sheet or some other kind of disposable barrier on your workstation. This simple act helps a lot in preventing any ink splatters from making a mess on your table or other equipment. It's just a good practice to have, and it makes cleanup so much easier later on. You want to make sure this barrier is secure and covers enough area to catch any stray drops. It's a small detail, but it makes a significant difference in keeping your space tidy and hygienic, too.
Then, you'll want to have all your necessary tools within easy reach. This includes your tattoo machine, power supply, clip cord, and, of course, your needles and ink. Having everything organized means you won't be fumbling around in the middle of a session, which can really break your concentration. It's about creating a flow, a rhythm, that lets you work efficiently and comfortably. So, take a moment to arrange your setup thoughtfully; it’s a tiny investment of time that pays off big, very big, in the long run.
What You Need to Fill a Tattoo Needle With Ink
Getting your supplies together before you start is, well, pretty obvious, but it's worth going over. You'll need your tattoo machine, obviously, and make sure it's attached to its power source with the clip cord. For your own safety and the client's, putting on latex gloves is a must; it's a basic hygiene step that you should never skip. Then, you'll need a sterilized tube and needle, ready to be inserted into the machine. These items are the core of your setup, and having them prepared means you're almost ready to start the actual process of how to fill a tattoo needle with ink.
Beyond the machine itself, you'll also need those small, disposable ink caps. These are what will hold your ink during the session. It's a good idea to place the number of ink caps you think you'll need right there on your barrier. Remember, each different color you plan to use for the tattoo needs its own separate cap. This prevents colors from mixing unintentionally and keeps your palette clean. It's a simple rule, but it helps maintain the purity of your colors, which is pretty important for the final look, too.
And, of course, you need the ink itself! Have your chosen colors ready to go. You'll be pouring these into the individual caps. Having everything laid out and ready just makes the whole experience smoother. It’s like having all your ingredients measured out before you bake; it just makes the process less stressful and more enjoyable, honestly. So, take a moment to double-check you have everything before you move on to the next step, which is getting that ink into the caps.
How Do You Prepare Your Ink Caps?
Once your workspace is ready and your tools are laid out, the next step is getting your ink caps filled. This is a straightforward part of the process, but it's where you start to handle the actual color. You'll want to take your disposable ink caps and place them on the protective barrier you've set up. The number of caps you use will depend on how many different colors you're planning to work with for the design. Each color really does need its own dedicated cap, so keep that in mind as you arrange them, you know.
The reason for separate caps for each color is pretty simple: it stops the colors from bleeding into each other or getting muddy. If you were to dip a needle with one color into a cap meant for another, you'd quickly find your shades getting mixed up, and that's just not what you want when you're trying to achieve a specific look. So, giving each color its own little home ensures that the pigment stays true to its original shade, which is, well, quite important for the final piece, too.
So, go ahead and line up your caps. Think about the order you might use the colors or simply arrange them in a way that feels logical to you. Some people like to put them in a rainbow order, others by how frequently they'll be accessed. It’s a matter of personal preference, but the key is to have them ready and waiting for the ink. This small organizational step truly contributes to a more efficient and less messy tattooing session, which is what we're aiming for, after all.
Dispensing Ink Safely for Tattoo Needles
Now that your ink caps are in place, it’s time to actually put the ink into them. This part is pretty simple, but there are a few things to keep in mind for cleanliness and to prevent waste. You'll take your bottle of tattoo ink and carefully fill each disposable ink cap with the color it's meant to hold. You don't need to fill them to the very brim, but put enough in so that you have a good working amount without having to refill constantly during the tattoo. A good level is usually about three-quarters full, or perhaps a little less, depending on the size of the cap, obviously.
When you're pouring, try to be steady and avoid making a mess. If you get ink on the outside of the cap or on your barrier, it’s not the end of the world, but it's just more cleanup later. The goal here is to get the ink into the cap cleanly and efficiently. Once you've filled all the necessary caps, you can put the lids back on your ink bottles to keep them fresh and prevent them from spilling. This step is about making sure your colors are accessible and ready for the needle, too.
It's also worth a quick thought about how much ink you're using. While you want enough to work with, putting too much in a cap means you'll likely waste some if you don't use it all. Tattoo ink isn't cheap, so being mindful of how much you pour helps save resources. You can always add a little more if you find yourself running low during a session, so there's no real need to overfill. It’s a pretty practical approach, honestly, to just use what you think you’ll need for the immediate task.
How to Fill a Tattoo Needle With Ink - The Actual Dipping
This is where you actually get the ink onto the needle, which is a bit different from simply filling a container. There's a particular way to do this that helps the ink load correctly and prevents issues during the tattooing process. The main thing to remember is that you don't want to fully dunk the needle into the ink cap. That's a common mistake, and it can cause problems. Instead, you'll want to dip just the very tip of the needle into the ink. It’s a subtle movement, but it makes a big difference, you know.
When you dip just the tip, you're allowing the needle to absorb the ink. This happens because of surface tension and the way the needle grouping is designed. You'll actually see the ink sort of rise up the needle, almost as if it's being drawn in. This is exactly what you want. Holding the needle in the cup for a little bit longer can help you get more ink onto it, as the ink has more time to climb up the needle grouping. It’s a delicate balance, and you’ll get a feel for it with practice, too.
The reason for this specific dipping technique is to avoid getting too much ink packed around the base of the needle where it meets the tube. If too much ink gets up there, it can cause splatter, uneven ink flow, or even clog the needle grouping. You want the ink to be ready at the very point of contact with the skin, not accumulating higher up. So, remember: a gentle dip, just the very end, and let the needle do its job of pulling the ink up. This really helps with consistent application, which is pretty important for a good tattoo, obviously.
How Does Needle Type Affect How You Fill a Tattoo Needle With Ink?
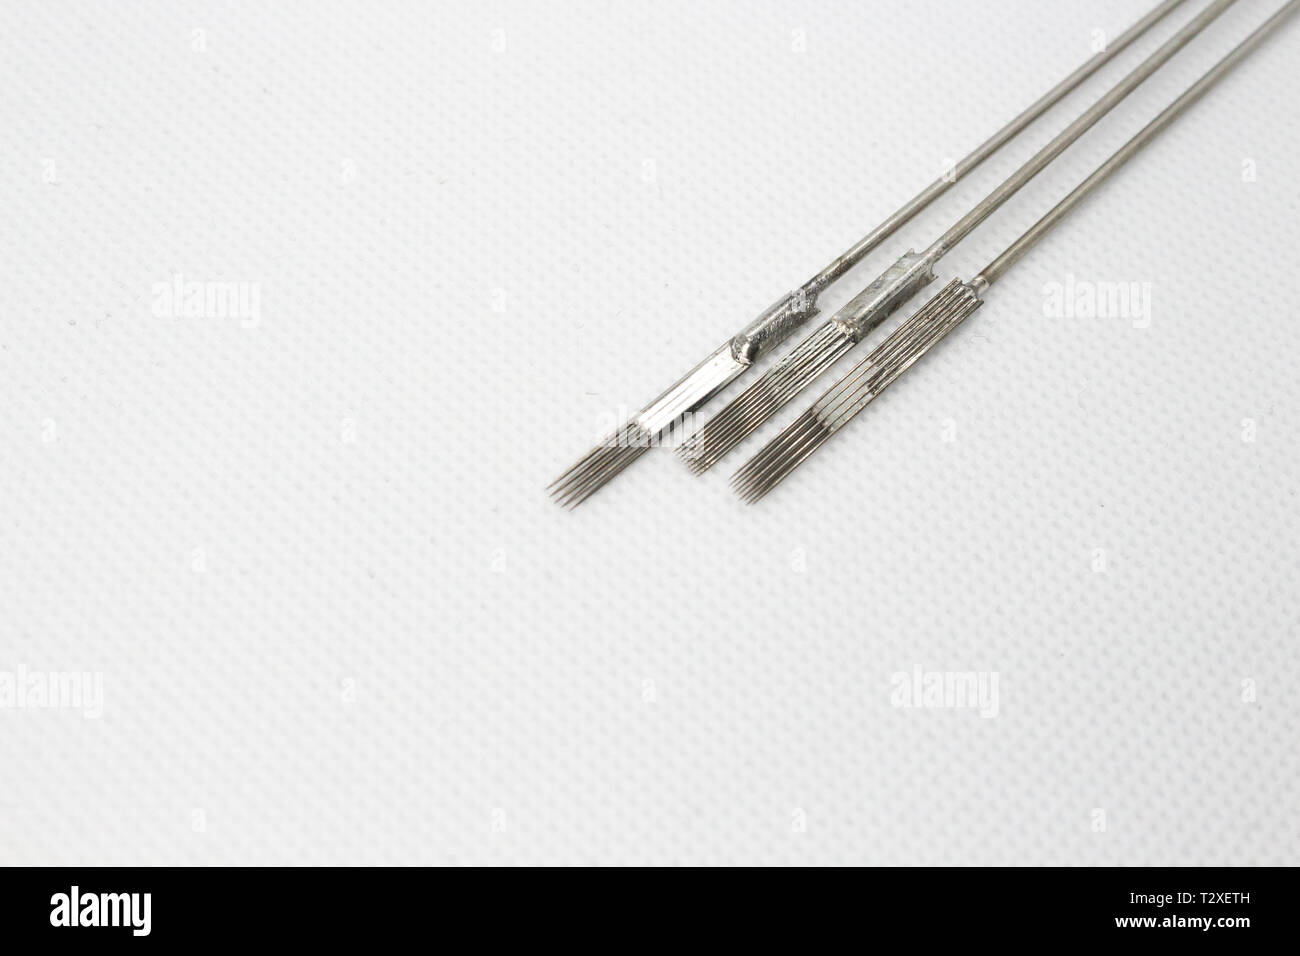
The kind of needle you're using can actually influence how you approach getting ink onto it and how it behaves once loaded. Different needle groupings are designed for different purposes, and this affects how they pick up and deliver ink. For example, if you're using round liners, which are great for creating lines, you'll want to keep the line weight, or thickness, in mind. If you want a heavier line, you'd typically choose a needle grouping with a larger count, meaning more individual needles packed together. These larger groupings might pick up ink a little differently than smaller ones, too.
When it comes to shading, the choice of needle is also important. For beginners, focusing on round shaders in sizes like 3, 5, 7, and 9 is often suggested for effective work. These needles are built to deliver consistent ink coverage, which is key for smooth shading. Because they're meant to spread ink more broadly, the way they draw ink up from the cap might feel slightly different than a liner. It’s all about how the individual needles are grouped and their texture, you know.
The diameter of a tattoo needle is another factor that plays a significant role in how ink flows and, ultimately, the outcome of your work. Common sizes exist, and each one affects how much ink can be held and how it releases into the skin. A wider diameter needle will generally allow for a more generous ink flow compared to a very fine one. So, while the dipping motion itself stays pretty consistent, the way the ink behaves on the needle and how it then gets deposited is influenced by these design choices. It’s a subtle thing, but it definitely matters, honestly.
Why Might Ink Not Pack Correctly When You Fill a Tattoo Needle With Ink?
Even if you've done everything right when it comes to getting ink onto your needle, you might sometimes find that the ink isn't packing into the skin as solidly as you'd like. This can be a frustrating experience, especially when you're aiming for a really uniform, solid fill. Packing ink into the skin means making sure the entire area is saturated with color, creating a consistent look. If you're seeing patchy spots or areas that just don't seem to hold the color, there could be a few reasons why, and it's not always about how you fill the needle, you know.
One common issue can be related to your power supply or the voltage settings on your machine. If you have an insufficient power supply or your voltage settings aren't quite right, it can lead to weak needle movements. When the needle isn't moving with enough strength and consistency, it simply can't deposit the ink into the skin as it should. This results in those frustrating light or uneven areas. So, checking your machine's settings is a pretty good first step if you're experiencing problems with ink packing, actually.
Another factor is the way you're actually moving the needle in the skin. Packing a solid fill often involves moving the needle in a small, oval formation. This technique helps to ensure that all parts of the area get adequate coverage. Because tattoo needles often contain multiple needle barbs, you want to make sure that all those barbs are working together to deposit the ink evenly. If your hand movement isn't consistent or you're not getting the right depth, the ink won't lay down uniformly. It’s a technique that takes practice, but it's crucial for a smooth, solid look, too.
Common Issues When Trying to Fill a Tattoo Needle With Ink
Sometimes, despite your best efforts, you might encounter issues that prevent ink from packing as it should, or just generally make the process of how to fill a tattoo needle with ink feel a bit off. One common problem is dealing with patchy ink, especially when trying to achieve a solid black fill. If your black ink isn't looking as dense or even as you want, it could be due to several factors beyond just the needle loading. For instance, the ink itself might be too thick or too thin for the needle you're using, or perhaps the needle isn't penetrating the skin at the correct depth. Correct needle depth is really important because it directly affects how the ink flows and settles into the skin, you see.
Another thing that can cause problems is not getting enough ink on the needle in the first place, or perhaps getting too much in the wrong spot. While you want to dip just the tip, not holding it long enough might mean the needle doesn't draw up sufficient ink for the pass you're making. Conversely, if ink gets pushed too far up the needle shaft, it can lead to messy splatters or inconsistent delivery once you start tattooing. It’s a fine balance, and sometimes just a slight adjustment in how long you hold the needle in the cap can make a difference, honestly.
Also, remember that achieving a truly uniform fill, where the entire area is saturated with color, is the ultimate goal. This requires a combination of proper needle loading, correct machine settings, and consistent hand motion. If you're struggling to get that smooth, even appearance, it's worth reviewing each step of your process. Sometimes, it’s a simple tweak to your technique, or perhaps adjusting the power to your machine, that makes all the difference. It's a learning process, and every session helps you refine your skills, too.

Detail Author:
- Name : Frieda Raynor
- Username : von.kavon
- Email : theodora04@kozey.info
- Birthdate : 1994-08-04
- Address : 15473 Larson Crossing North Cletaberg, OR 28520
- Phone : +1.959.456.8730
- Company : Schowalter, Bogan and Morissette
- Job : Pipefitter
- Bio : Ipsum deleniti labore voluptatibus non aliquid quaerat totam fugit. Doloribus autem necessitatibus porro vel consectetur corporis. Voluptatum quidem rem numquam.
Socials
instagram:
- url : https://instagram.com/hellere
- username : hellere
- bio : Est illo aut atque. Praesentium quae officiis necessitatibus quasi non. Soluta ut molestiae et eum.
- followers : 4249
- following : 1294
tiktok:
- url : https://tiktok.com/@eleazar.heller
- username : eleazar.heller
- bio : Possimus et earum sunt sed consequatur. Molestiae provident repudiandae quidem.
- followers : 4384
- following : 95
