Making a five-pointed star, for a lot of people, might seem like a bit of a tricky task, yet it's actually something quite simple to do once you get the hang of it. You can make these shapes with just a few basic tools, and they turn out really neat.
These little shapes, you know, are more than just pretty decorations; they hold a lot of meaning across many different times and places. From old stories about the sky to designs we see every day, they really pop up all over. They can bring a sense of wonder or even a touch of magic to a space, which is pretty cool.
So, if you're keen to add a touch of sparkle to your home, prepare for a special event, or just enjoy a fun craft, getting the hang of how to make these stars is a good skill to have. My name is Ana González, and I truly enjoy making things with my hands in my free time, so I'm happy to share some thoughts on this.
- Kevin Nair Hair Removal Video Unblurred
- Luigi Mangione Y Diego Sanz
- Ray Models For Clothing Brand
- Dennis Frazier Dog Video
- Dave Chappelle Faggot
Table of Contents
- ¿Por qué son tan especiales las estrellas de 5 puntas?
- Primeros pasos para tus medidas para hacer una estrella de 5 puntas
- ¿Cómo se hace una estrella perfecta con compás y regla?
- ¿Existen otras maneras de hacer una estrella de 5 puntas?
- Usos creativos para tus estrellas hechas a mano
¿Por qué son tan especiales las estrellas de 5 puntas?
The five-pointed star is, in a way, a symbol that you see everywhere. It has been used in many different groups of people and for many reasons throughout history. You can find it in stories about the sky, like with constellations, or in various types of symbolic pictures. It's a shape that, you know, really grabs your eye and can mean a lot of different things depending on where you see it. For some, it might bring thoughts of good fortune or guidance, while for others, it's just a shape that feels right and balanced.
These shapes are, basically, quite lovely to look at and can bring a kind of heavenly feel to your living space. If you're ever wondering how to make one of these, you're definitely in the right spot. They are, in fact, quite simple to make once you know the steps. You can use them to brighten up a birthday party, help put together some pretty things for a wedding, or even, in a playful way, make them look like a paper ninja star. It's really up to your imagination, you see.
Primeros pasos para tus medidas para hacer una estrella de 5 puntas
To get going on making your star, you'll need a few simple items. First off, you'll want some paper, just a regular sheet will do to start. Then, you'll need a compass, the kind you use to draw circles, and a straight ruler. A pencil is also a must-have, and a good eraser can be helpful too, just in case you make a mark you don't want. You might also want some scissors later on if you plan to cut your star out. So, are you ready to learn how to draw a five-pointed star with a good sense of precision and your own touch of style? We'll take you through it, step by step.
- Is The Glow Recipe Toner Good For 12 Year Olds
- Madeline Brincos Dieras
- Huey Say Something Deep
- Swiss Cheese Twin
- Soy Fan De Tu Relacion
Making a five-pointed star might seem like it would be a bit tough at first glance, but with this step-by-step guide, it's something you can do quite easily, I mean, really. It's about breaking it down into smaller, simpler actions. You'll see that it's not as complex as it might appear. Just gather your tools, and we'll get started on creating something quite pleasing.
¿Cómo se hace una estrella perfecta con compás y regla?
Creating a star that looks just right with a compass and ruler is a very satisfying process. It relies on a little bit of geometry, but don't let that put you off; it's quite straightforward when you follow along. This method helps you get those points evenly spaced and the lines straight, which, you know, makes for a really clean-looking star. We'll go through the exact actions you need to take to get that perfect shape. It's all about making careful marks and then connecting them up.
Las medidas para hacer una estrella de 5 puntas: Trazando el círculo inicial
To get things started, you'll want to take your compass and place its pointy end right in the middle of your paper. Then, you just open it up to whatever size you'd like your star to be – this will be the span of your star's arms, so to speak. Once you've got that set, gently turn the compass around, letting the pencil part draw a neat, round shape on your paper. This circle, you know, is going to be the foundation for your whole star, so getting it just right is a good first move. It's like setting the stage for everything else that comes next.
After you've drawn your circle, you'll want to find the very top point of it. You can do this by drawing a straight line from the center of the circle straight up to the edge. This point, basically, will be the first of your five star points. It helps to keep everything balanced and symmetrical. This initial mark is quite important for guiding the rest of your work, so take a moment to make sure it's accurate. You'll see why it matters as we go along.
Marcando los puntos clave para tus medidas para hacer una estrella de 5 puntas
Now, this is where a little bit of cleverness comes in for your star's shape. You need to divide that circle into five equal sections. There are a few ways to do this. One way is to use a bit of math, knowing that a full circle is 360 degrees, so each section would be 72 degrees (360 divided by 5). You could use a tool that measures angles for this, but there's also a trick you can do with just the compass itself, which is pretty neat. You essentially use the compass to step around the circle, making marks at specific intervals that will give you those five even points. It's a bit like taking five equal steps around a round path, you know, making sure each step lands in the right spot.
Another way to find these points, if you don't have an angle tool or want to try something different, is to use a method that involves drawing lines within the circle. For instance, you might draw a straight line across the circle, then find its center, and use that to help you mark off the other points. The idea is to get five spots on the circle's edge that are spaced out just right. This step is, in some respects, the heart of getting a well-proportioned star, so taking your time here really pays off. It's about setting up the framework for your star's distinct shape.
Uniendo los puntos para una estrella clara
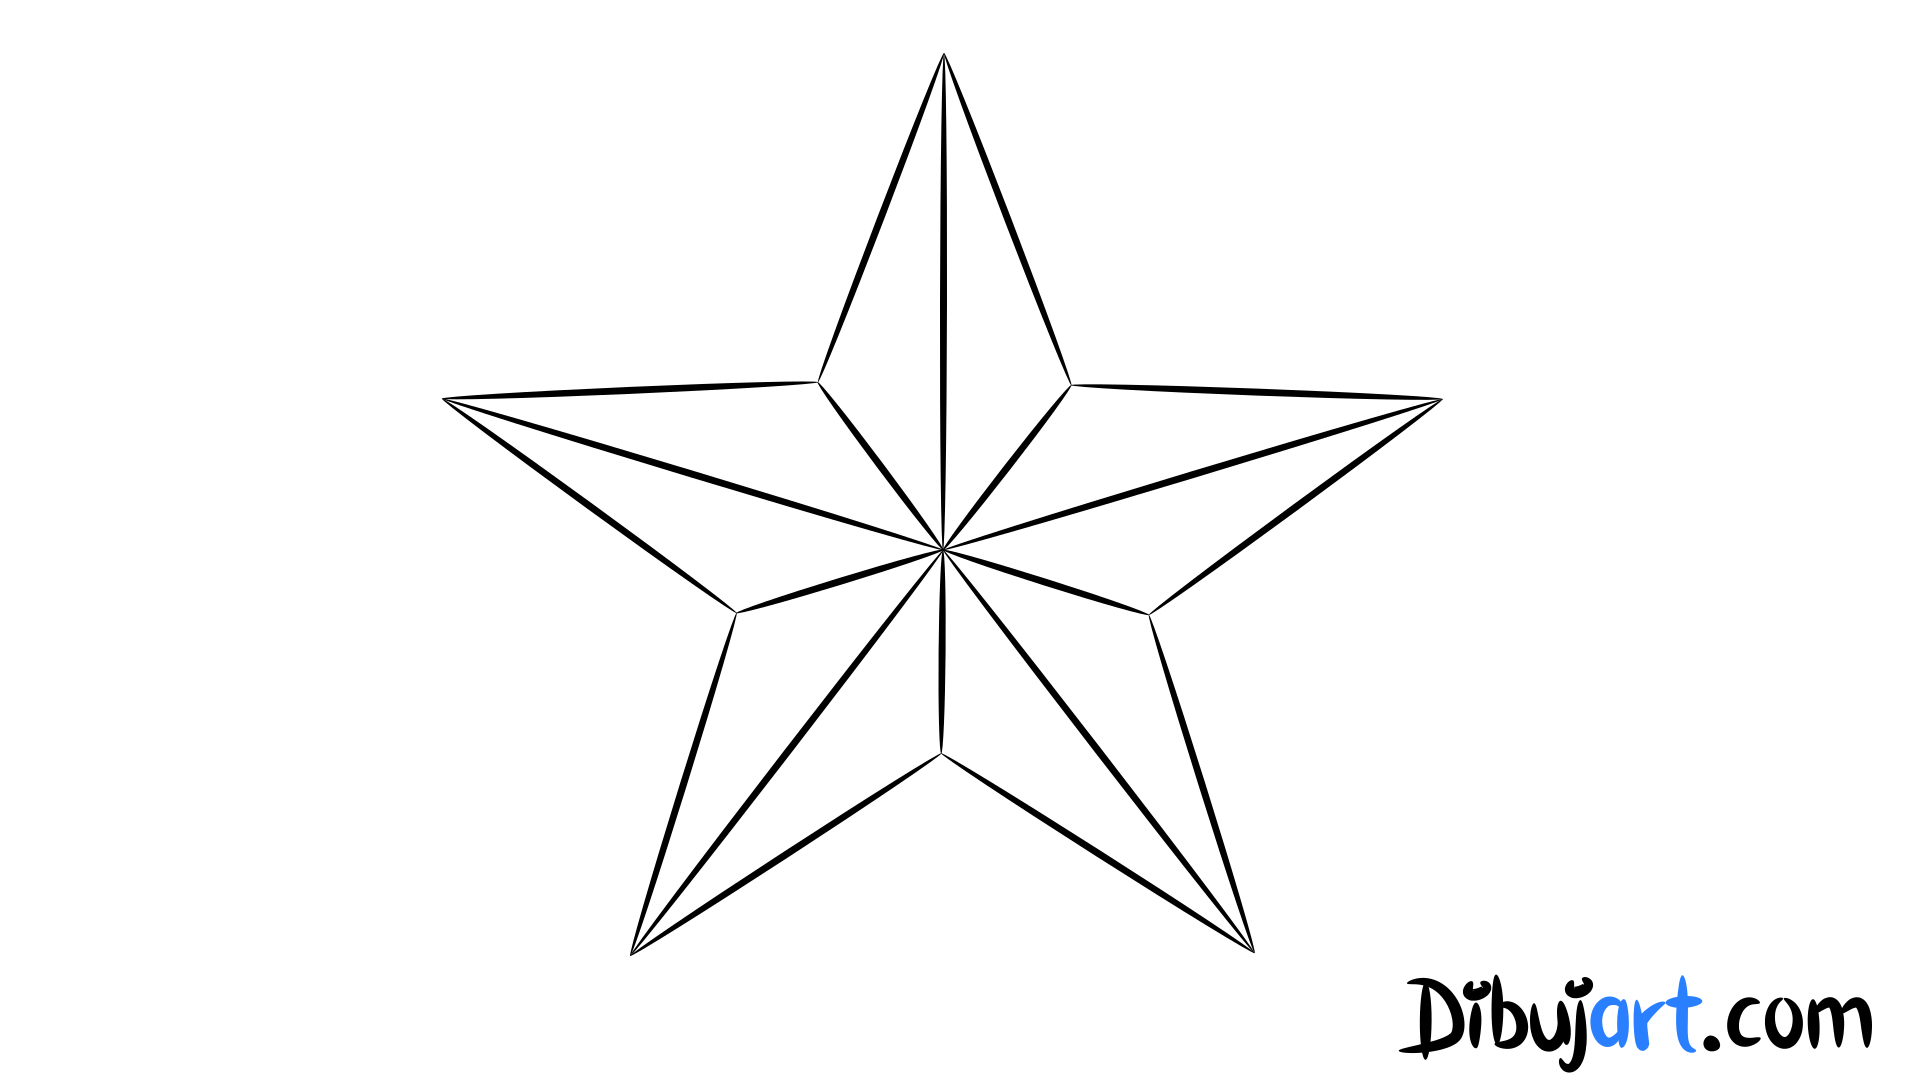
Once you have those five perfectly spaced marks around your circle, the fun part begins: drawing the actual star. You'll take your ruler and connect these marks, but not in the way you might first think. Instead of connecting each mark to the one right next to it, you'll skip one. So, you start at your first mark, draw a straight line to the third mark (skipping the second), then from that third mark, draw a line to the fifth mark (skipping the fourth). You keep going like this, connecting every other point around the circle. It's a bit like drawing a continuous line that weaves in and out, creating the star's shape as you go. This method, you know, is what gives the five-pointed star its characteristic look.
Continue connecting the points in this skipping pattern until you return to your starting point. You'll find that all the lines meet up neatly, forming the classic star shape right inside your circle. You can then, if you like, erase the original circle and any extra lines you used to make your marks, leaving just the star. This process, really, is quite satisfying to watch unfold on your paper. It's a clear way to see how simple geometric steps can lead to a beautiful result. Just be sure your ruler is steady for each line, and you'll have a star that looks quite sharp.
¿Existen otras maneras de hacer una estrella de 5 puntas?
Yes, there are definitely other ways to make a five-pointed star, beyond just using a compass and ruler. Not everyone has those tools, or perhaps you just want to try a different kind of craft. These alternative methods can be just as fun and can give your stars a very different feel or texture. It's about exploring what materials you have around and what kind of look you're going for. So, if the idea of drawing lines and circles doesn't quite fit your mood, there are other paths to creating these lovely shapes. You might find one of these methods is, in fact, more to your liking.
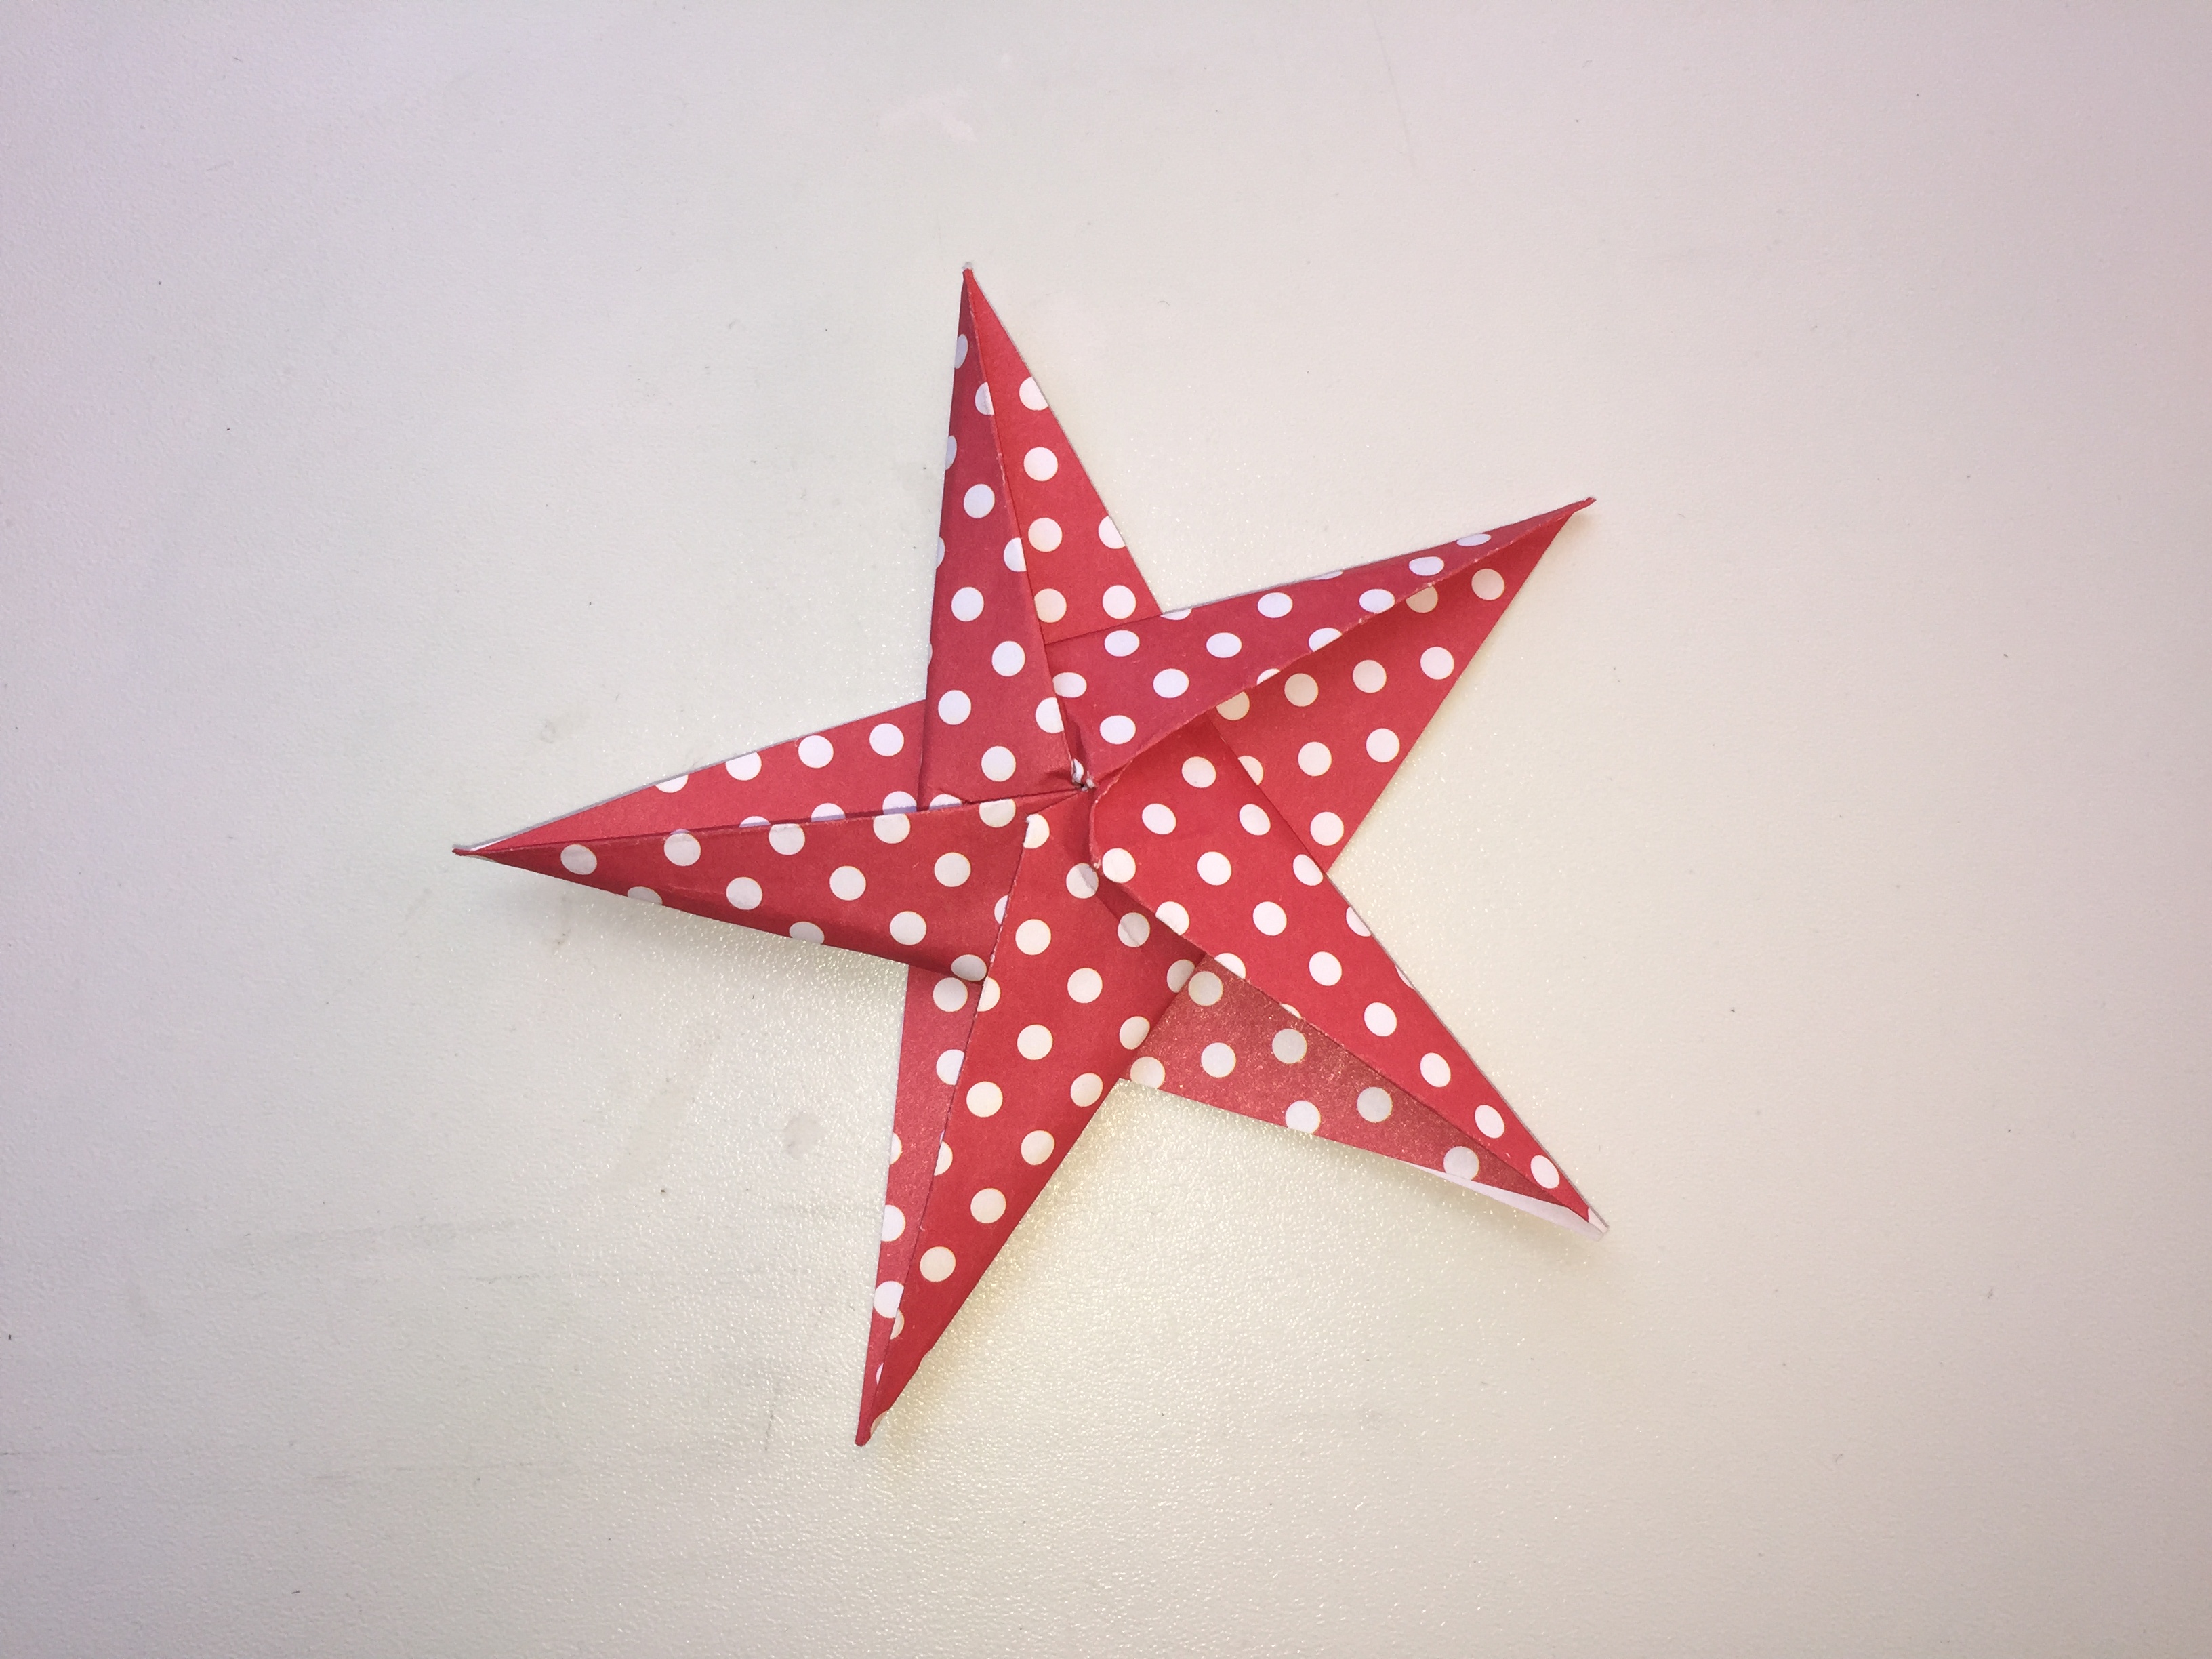
Estrellas de papel: Una forma sencilla de crear medidas para hacer una estrella de 5 puntas
One very popular way to make stars is with paper, often through a technique called origami, which is the art of paper folding. This method is, in some respects, quite simple and forms the basis for many other folded figures. You can learn how to make decorative five-pointed stars in a few easy steps, just needing paper. It's a very versatile craft, and paper stars can be used for so many things. You can even make paper stars for holiday decorations, which is pretty common. There are specific folding patterns that, you know, magically turn a flat piece of paper into a three-dimensional star. It's quite a clever trick, actually.
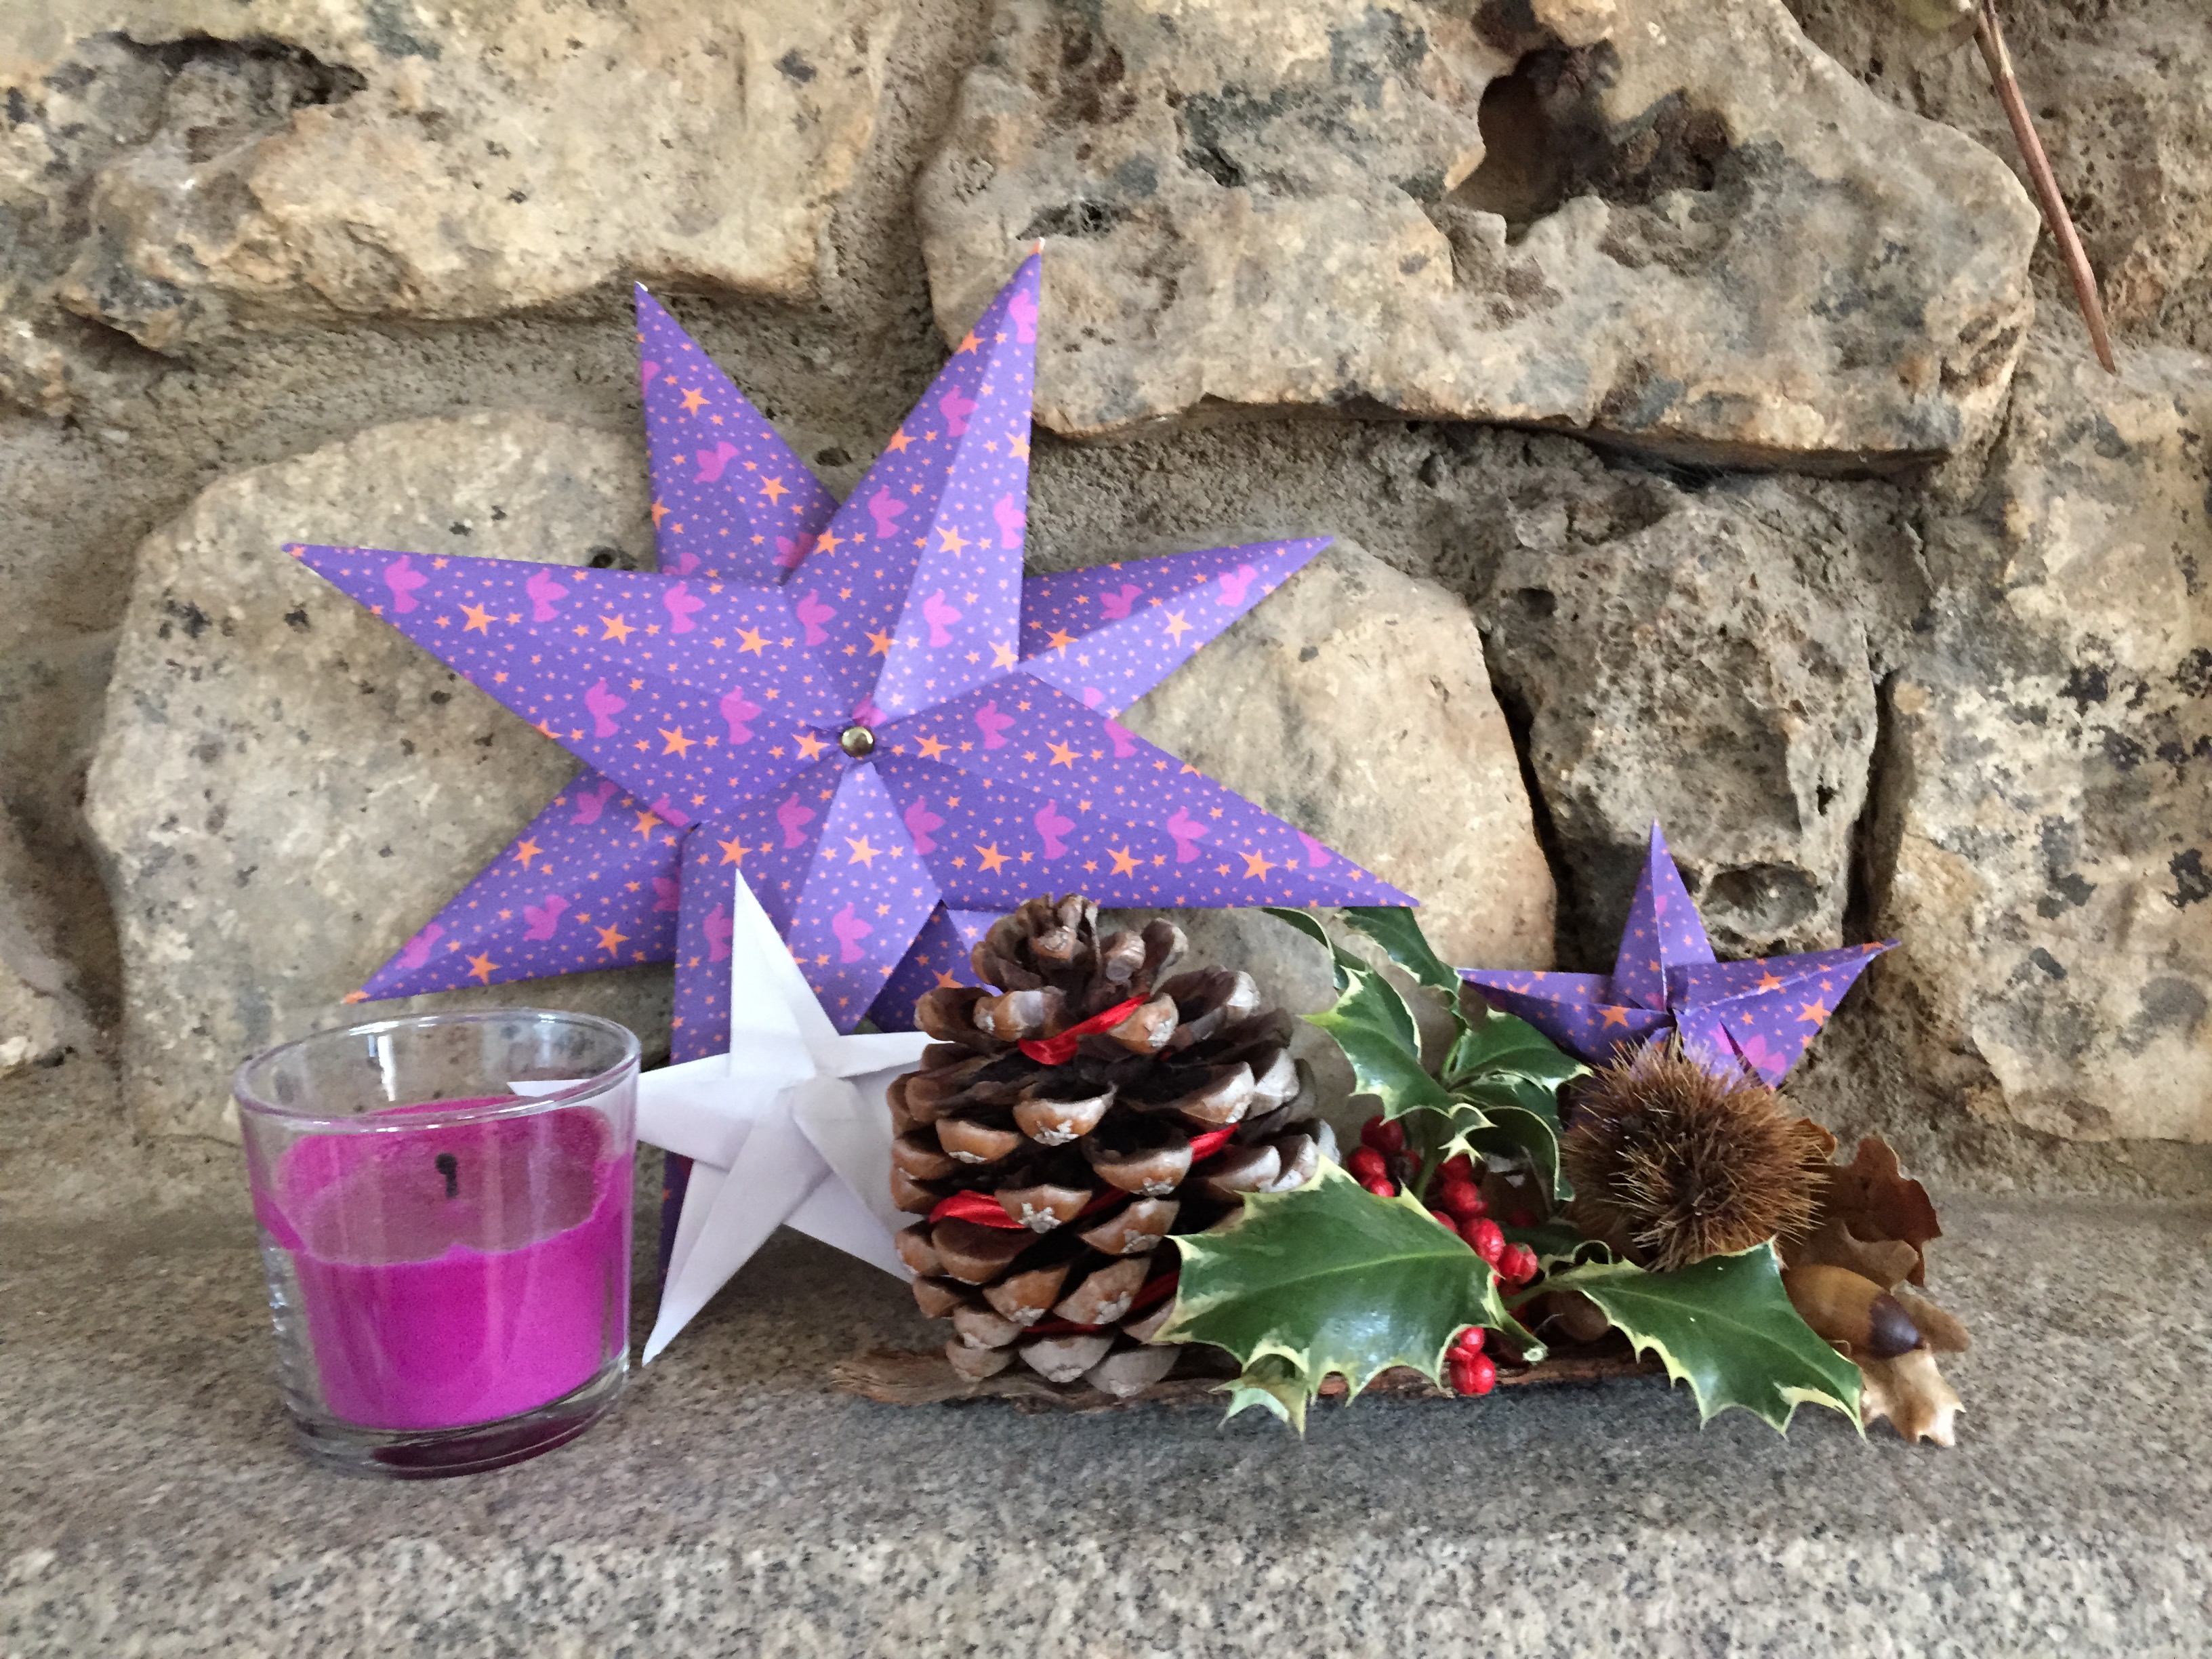
If you're looking for a fun and creative craft, building a five-pointed star from paper could be a great choice. This guide will walk you through it, step by step. You can also create many paper stars and link them together to make a decorative string of lights or a garland for a really striking visual effect. The beauty of paper stars is that they are light, relatively easy to make once you get the hang of the folds, and can be made in any color or pattern of paper you choose. They are, basically, a very adaptable craft for various projects.
Construyendo con palitos: Otra opción para tus medidas para hacer una estrella de 5 puntas
Another neat way to create a five-pointed star is by using small sticks and some glue, like silicone. This method is often quick, easy, and quite affordable, which is a big plus. These kinds of stars are, really, perfect for adding a bit of handmade charm to your home. You can make them from things like bamboo sticks or even twigs you find outside. The idea is to cut the sticks to specific lengths and then arrange them in the star shape, securing them with a strong adhesive. It gives the star a more rustic or natural feel compared to paper or drawn stars.
To make these, you'll typically need your chosen sticks, a way to cut them to size, and a good adhesive. You might also need some cord or string if you plan to hang them or add a decorative touch. The process usually involves cutting five equal lengths of stick and then arranging them so their ends overlap in a way that forms the star's points and inner pentagon. This is a manual craft that lets you get a feel for the shape in a very tangible way. It's, you know, a different kind of satisfaction when you build something with actual pieces, rather than just drawing it.
Usos creativos para tus estrellas hechas a mano
Once you've made your stars, whether they are drawn, folded, or built from sticks, there are so many creative ways to use them. These five-pointed stars are, in a way, beautiful decorations that can bring a special, almost heavenly, touch to your home. You could hang them individually on a wall, or group them together to create a little constellation of your own. They make lovely additions to a child's room or a festive gathering. The possibilities are quite open for how you can display them.
Beyond just decorating your own space, these stars are also wonderful for special occasions. As mentioned earlier, you can use them to brighten up a birthday party, giving the celebration a handmade feel. They can also be part of the decorations for a wedding, adding a personal and charming element to the event. Or, if you're a fan of making things with your hands and enjoy making your living space special with unique items, then learning how to make these stars is definitely for you. They are, basically, a versatile craft that fits many different situations and styles.
You can also use these stars to make gifts feel a little more personal. Attach one to a wrapped present instead of a bow, or use smaller ones as confetti for a party table. If you make them from paper, they can be quite light and easy to transport. The fact that they are handmade adds a layer of thoughtfulness to whatever you use them for. It's, you know, a simple shape that carries a lot of warmth when crafted by your own hands.
Detail Author:
- Name : Tara Heathcote
- Username : kitty86
- Email : priscilla.cummings@hotmail.com
- Birthdate : 2005-07-24
- Address : 928 Leilani Grove Thurmanview, MO 36667-6746
- Phone : (928) 362-9154
- Company : Goldner-Parker
- Job : Special Force
- Bio : Aut minima ipsam dignissimos dolor ut exercitationem provident. Modi iste esse at sed voluptas quas sit. Omnis enim molestiae vero qui. Pariatur quibusdam architecto sequi labore occaecati molestiae.
Socials
linkedin:
- url : https://linkedin.com/in/ezekiel_id
- username : ezekiel_id
- bio : Dolorem tempora neque sequi adipisci.
- followers : 5102
- following : 2355
facebook:
- url : https://facebook.com/egreenfelder
- username : egreenfelder
- bio : Aperiam id veritatis sed itaque repudiandae error provident.
- followers : 3965
- following : 2539
tiktok:
- url : https://tiktok.com/@ezekiel_greenfelder
- username : ezekiel_greenfelder
- bio : Velit labore ex est unde tempora et.
- followers : 843
- following : 2789
